1 - Introduction
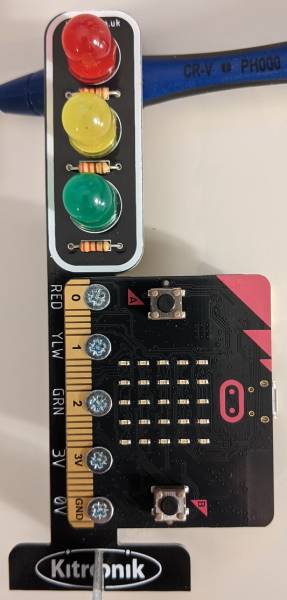
We're going to put on a lights show using your Microbit and your Traffic Lights Kit so you'll need to connect your Microbit to your Traffic Lights.
Take a look at the "Build your Traffic Lights" lesson if you need instructions.
2 - Create a new Microbit project
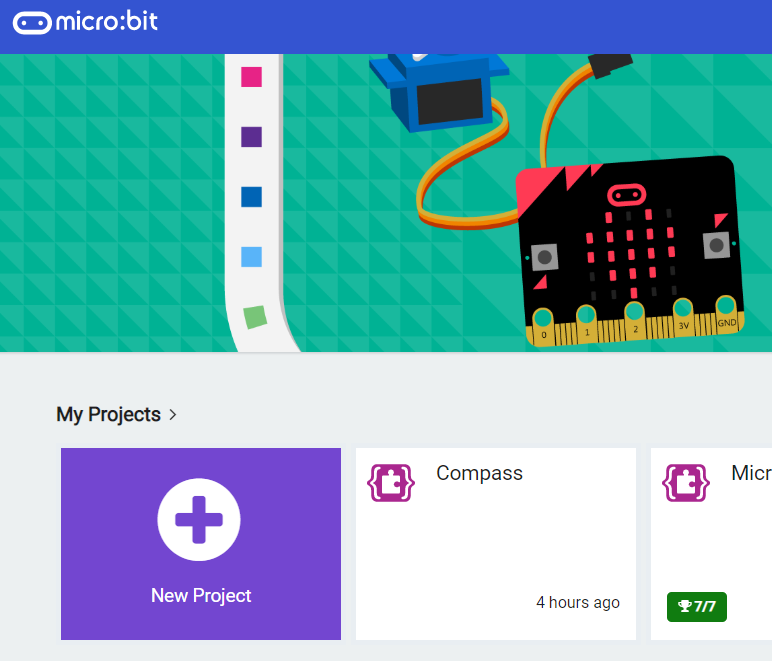
Go to the makecode.com website and create a new Microbit project.
Go to the Makecode.com Microbit website using the link below and click on the 'New Project' button underneath the 'My Projects' heading.
https://makecode.microbit.org/
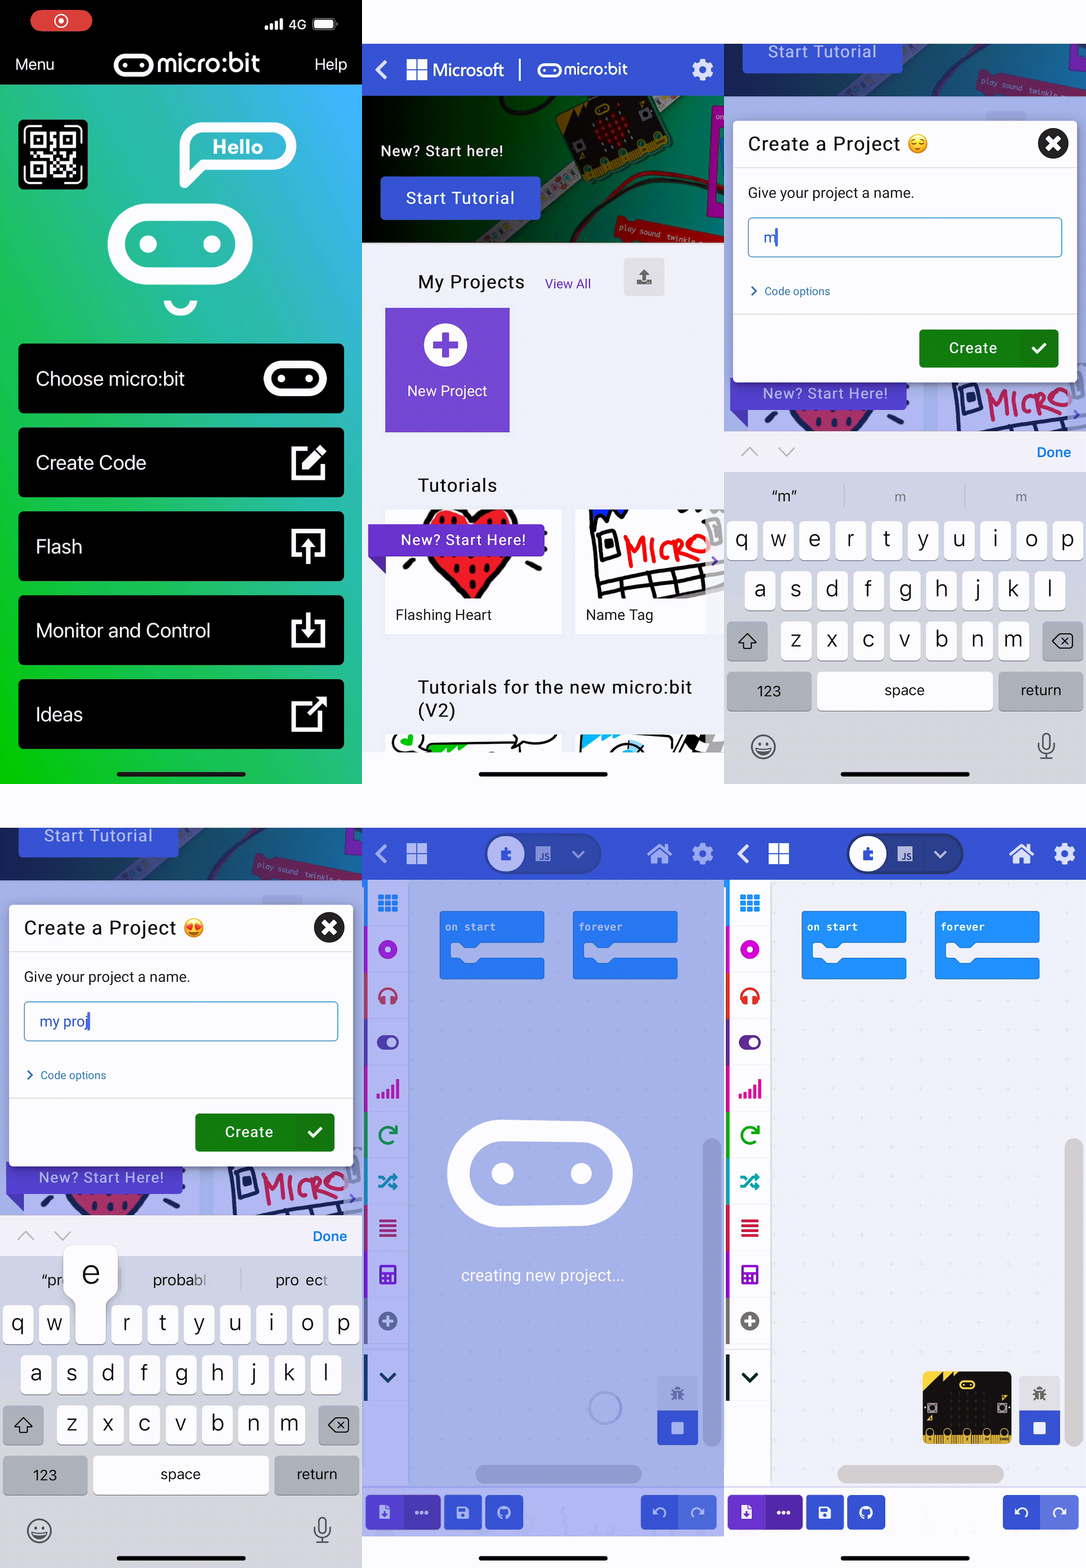
Install the micro:bit app on your iPad or tablet.
Open the app, tap 'Create code' and then create a new project.
3 - Add the Stopbit extension
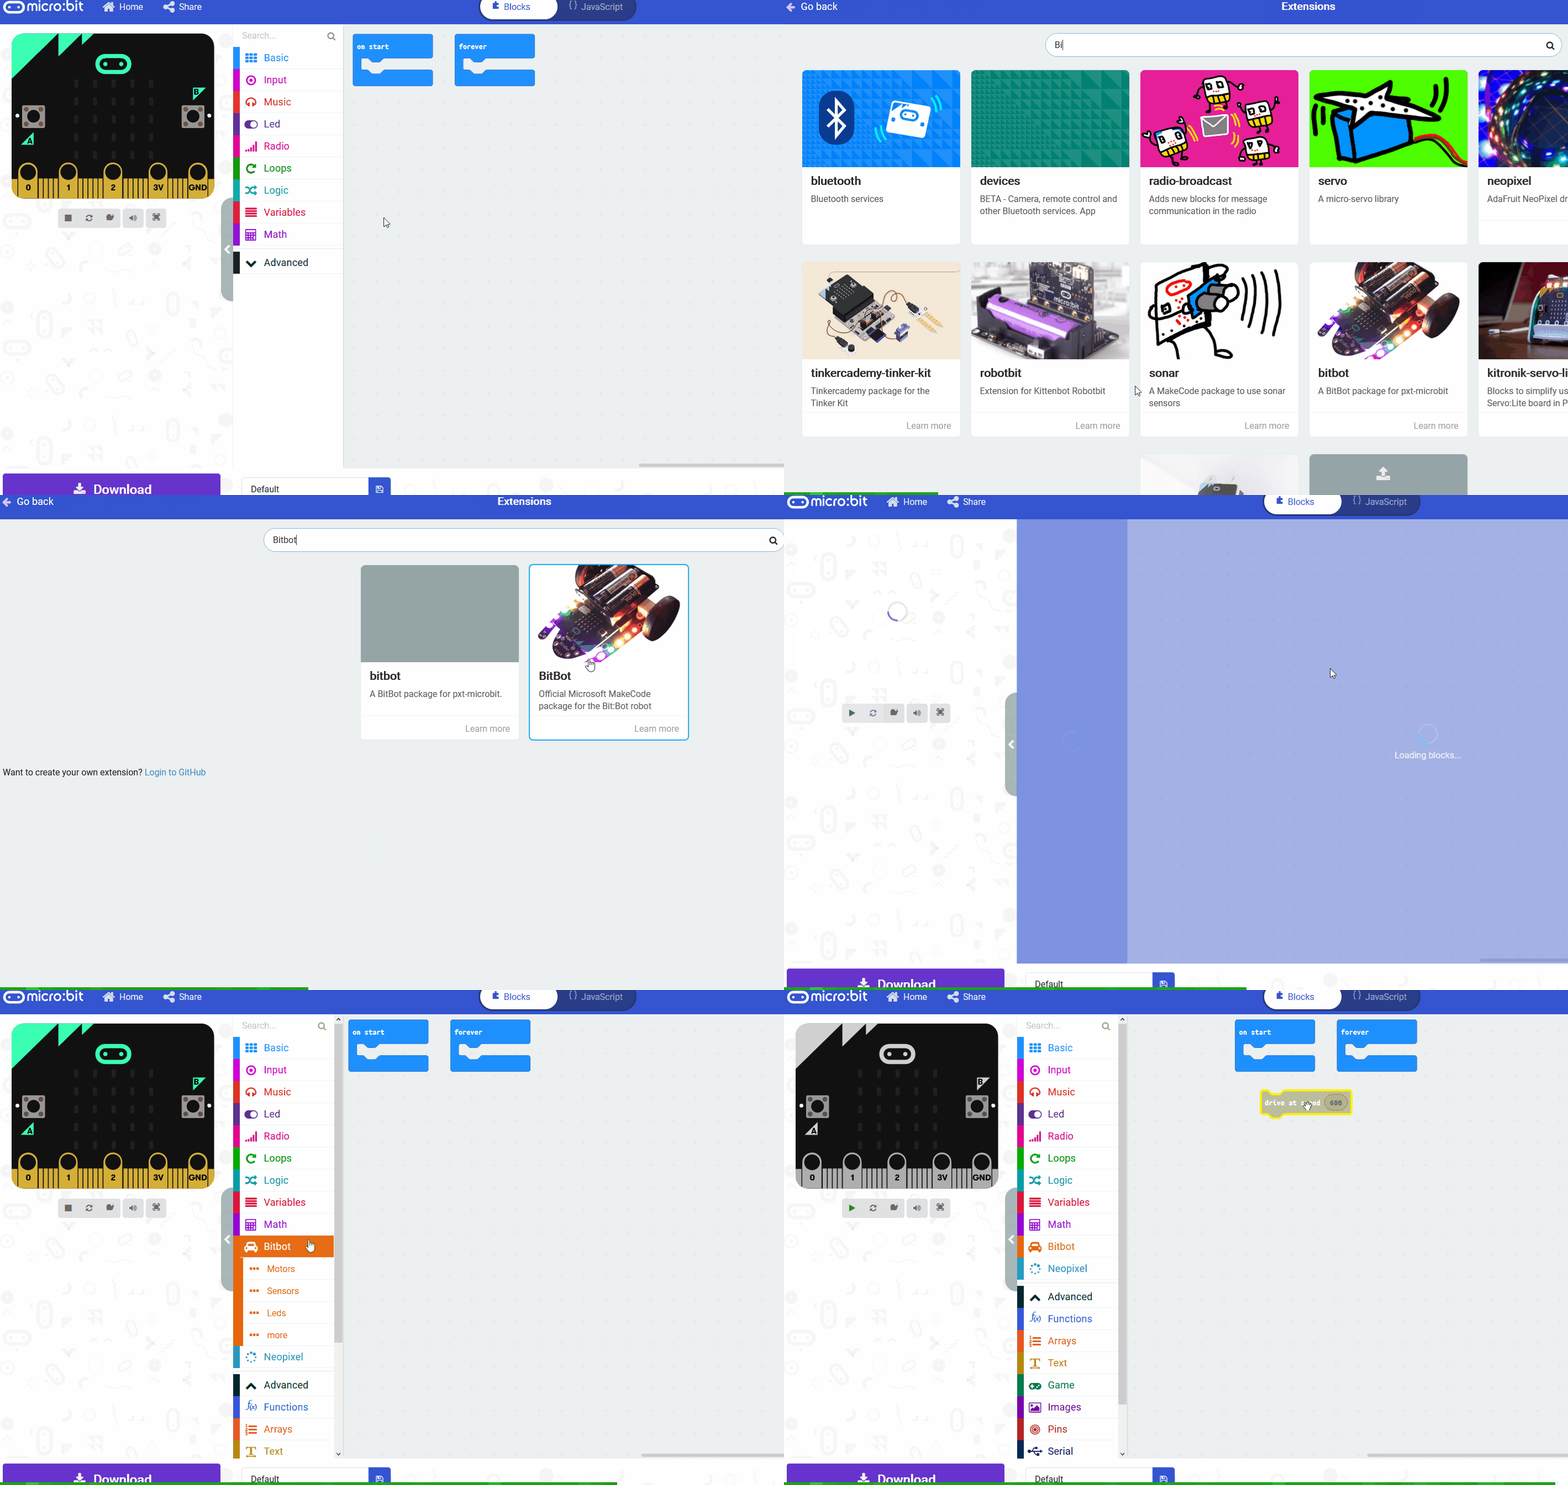
There are custom code blocks that we use to program our traffic lights kit. To add them to our toolbox we need to add the "stopbit" extension.
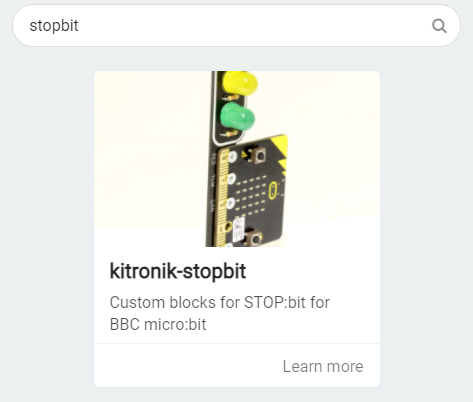
Search for the "stopbit" extension and then click on the traffic lights kit picture.
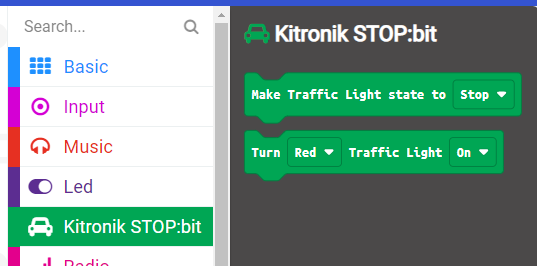
This will add the "Kitronik STOP:bit" category of code blocks to your toolbox.
To add an extension follow these steps:
- Click on 'Advanced' in the toolbox
- Click 'Extensions'
- Type the name of the extension in the search box
- Click on the extension in the search results
- The extension and all it's blocks will be added to your toolbox
4 - Program the A button
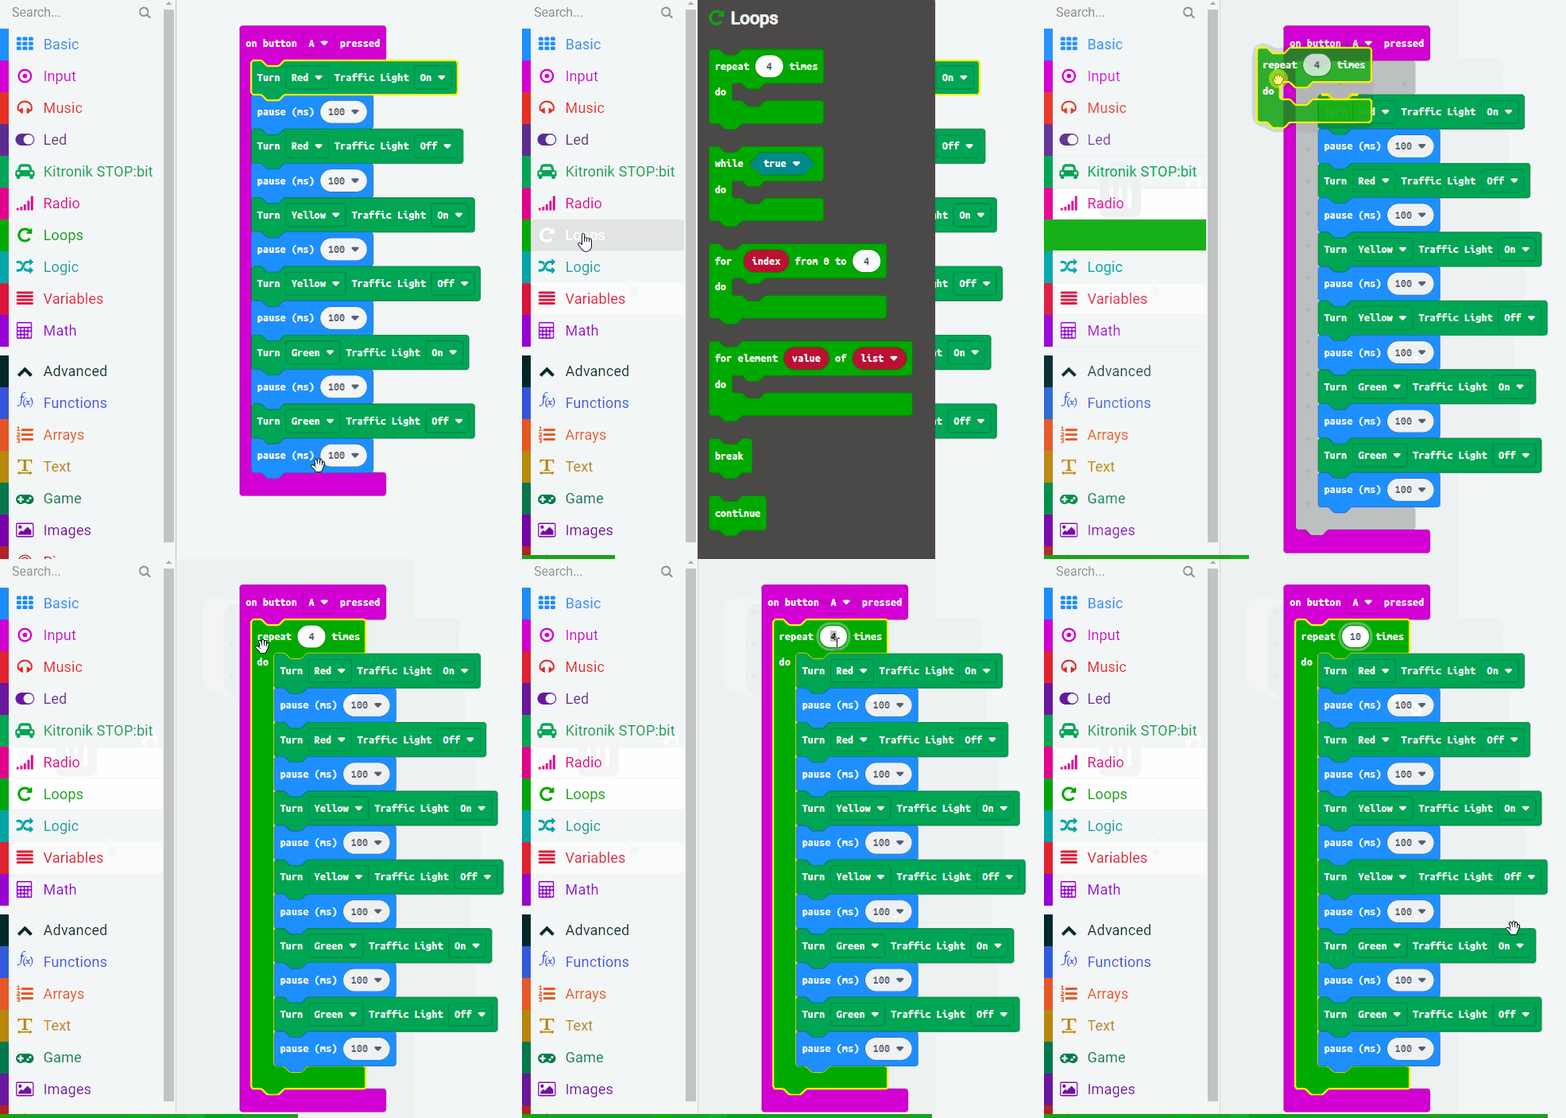
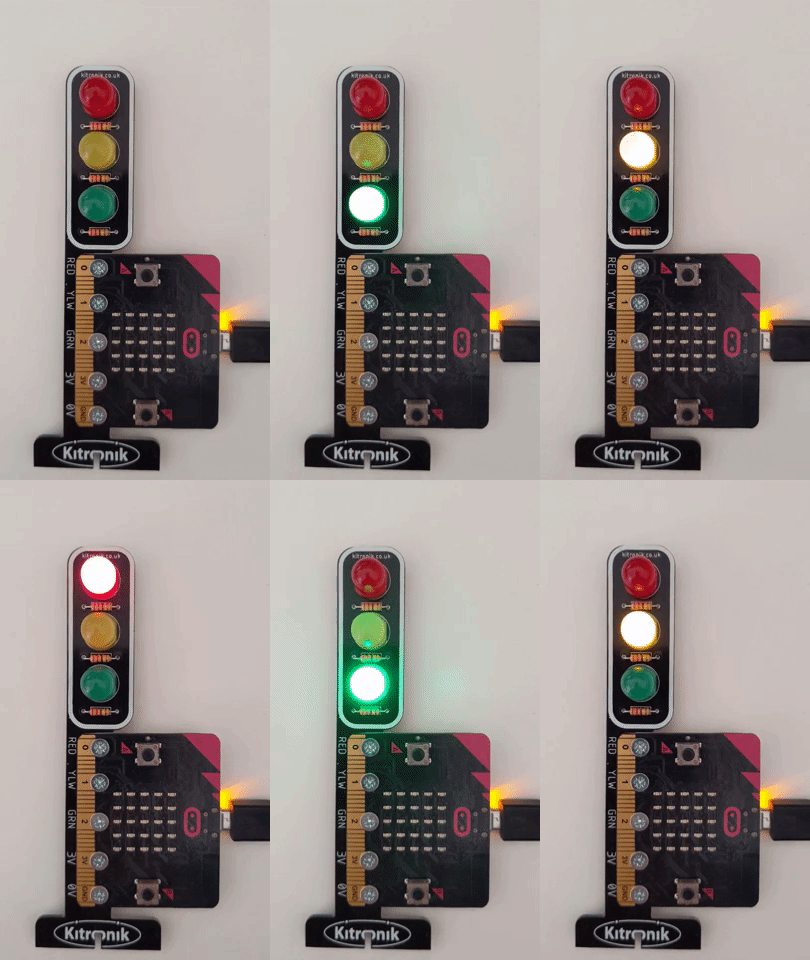
We're going to program the A button on our Microbit to make the traffic lights turn on and off the lights in a sequence. The sequence will be:
- turn on Red
- turn off Red
- turn on Yellow
- turn off Yellow
- turn on Green
- turn off Green
We also need to put in a little pause after each step, otherwise it will happen to fast and we won't see the lights effect we are creating! Add the following code.
5 - Make it loop
At the moment pressing the A button will just run through the sequence once. So let's put the sequence inside a loop block so that it repeats the sequence 10 times.
Once you have added in the 'repeat' block, download your code to your computer and send it to your Microbit. Press the A button and test that it shows the lights sequence 10 times. If it doesn't, check your code to see if you have missed anything.
This lesson is copyright of . Unauthorised use, copying or distribution is not allowed.
