- 1 Introduction
- 2 Program the remote
- 3 Send message 'forward'
- 4 Send messages 'left', 'right' & 'reverse'
- 5 Send message 'stop'
- 6 Download the code
- 7 Create a new project
- 8 Receive message 'forward'
- 9 Receive message 'left'
- 10 Receive message 'right'
- 11 Receive message 'reverse'
- 12 Receive message 'stop'
- 13 Download the code
The aim of this project is to control the Move Motor car by using another Microbit as a remote controller. When you tilt the remote control Microbit in a direction it will send a message to the Microbit in the car which will make it move in that direction.
You will need the following for this project:
- 2 Microbits (1 that goes in the car and 1 for the remote control).
- A Move Motor car.
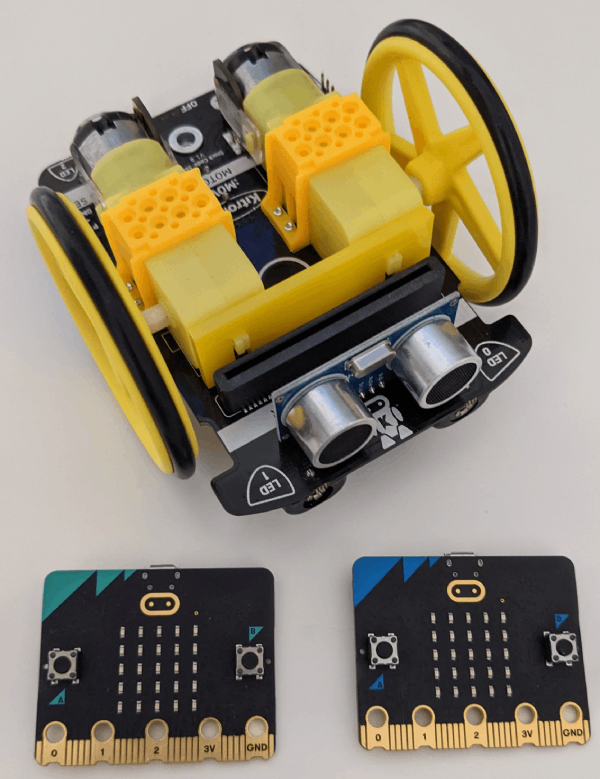
We will need to create 2 code projects:
- for the Microbit that will be used as the remote control.
- and another for the Microbit that will be inside the car.
Let's create the code for the remote control first. Go to the https://makecode.microbit.org website and create a new project. Call it "Remote Control" or something that let's you know that it's the project for the remote control.
Once you've created the new project, add the following code to set the radio group to 1. We will do the same later on the for the car project.
radio.setGroup(1)
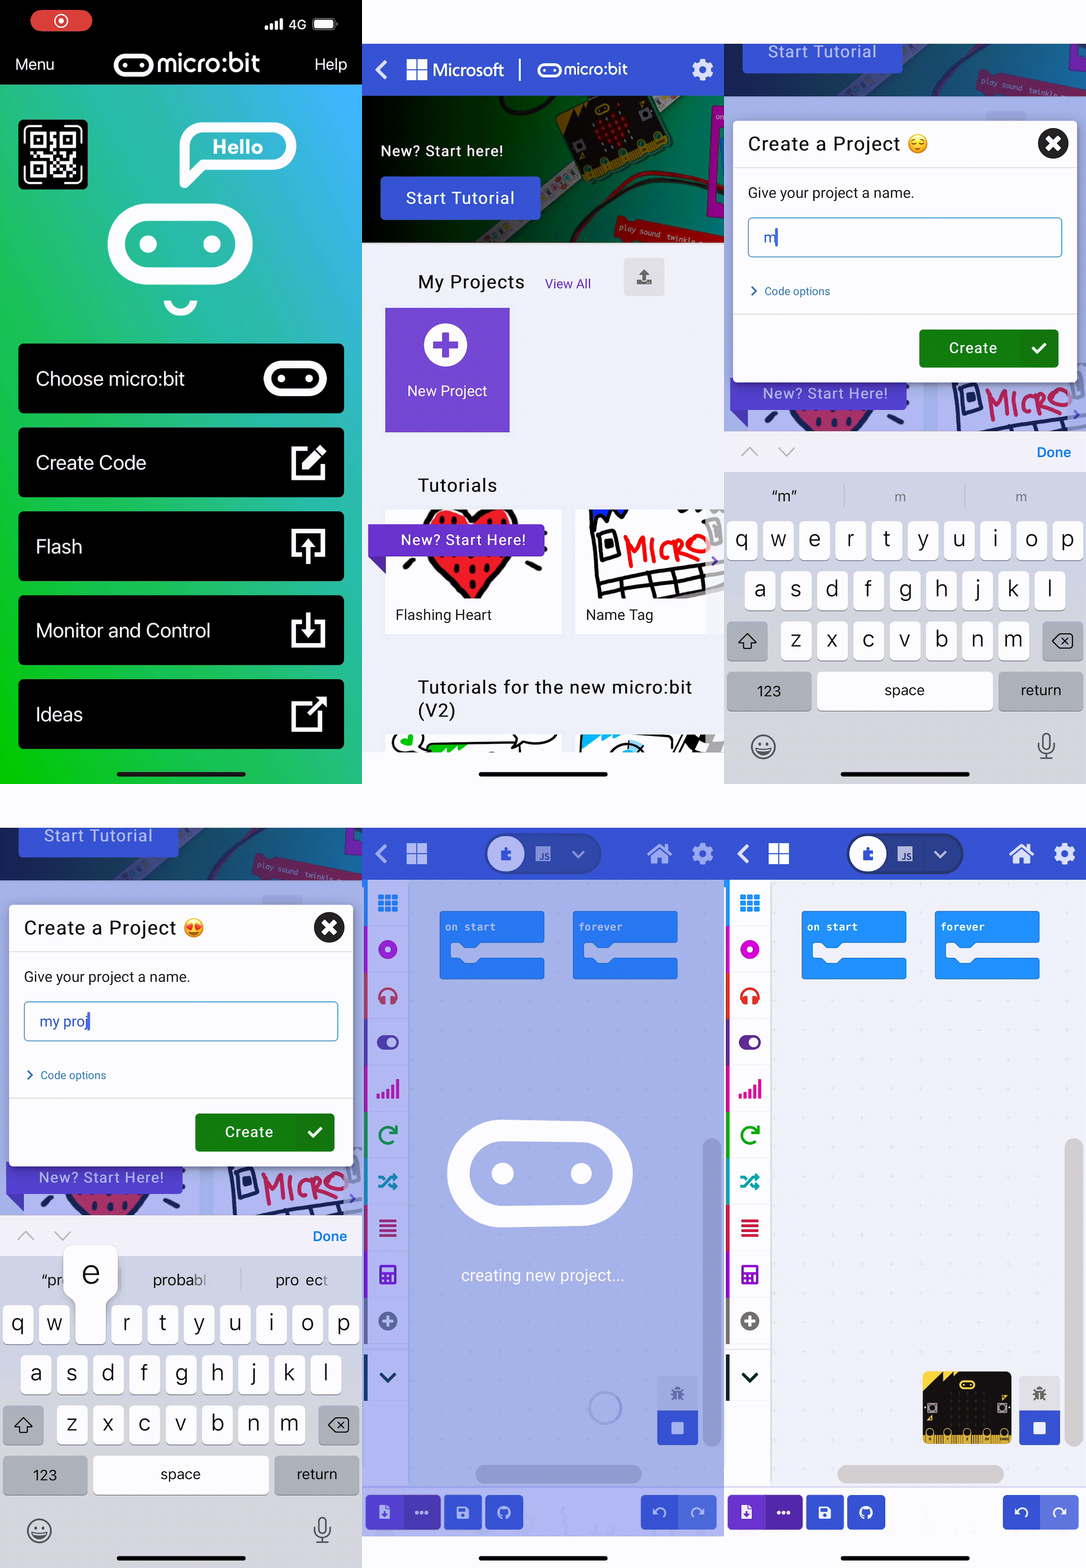
Go to the Makecode.com Microbit website using the link below and click on the 'New Project' button underneath the 'My Projects' heading.
https://makecode.microbit.org/
Install the micro:bit app on your iPad or tablet.
Open the app, tap 'Create code' and then create a new project.
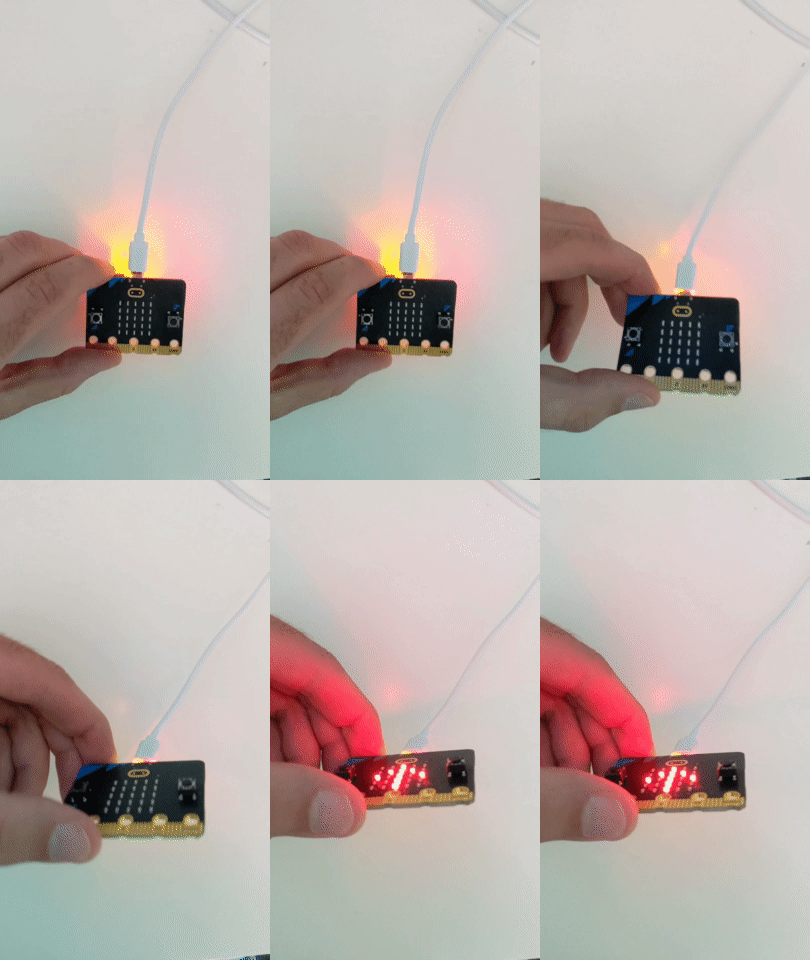
We are going to use the accelerometer sensor that's in the Microbit to detect when it is tilted forwards and when it is, we will send a message using the radio transceiver. We will also show an arrow point up on the Microbit so we have some visual feedback that this code has triggered.
Add the following code.
input.onGesture(Gesture.LogoDown, function () {
    radio.sendString("forward")
    basic.showArrow(ArrowNames.North)
})
4 - Send messages 'left', 'right' & 'reverse'
Now in a similar way add the following code to detect when the Microbit tilts left, right and back and then send the appropriate message and show an arrow.
Add the following code.
input.onGesture(Gesture.TiltLeft, function () {
    radio.sendString("left")
    basic.showArrow(ArrowNames.West)
})

input.onGesture(Gesture.TiltRight, function () {
    radio.sendString("right")
    basic.showArrow(ArrowNames.East)
})

input.onGesture(Gesture.LogoUp, function () {
    radio.sendString("reverse")
    basic.showArrow(ArrowNames.South)
})
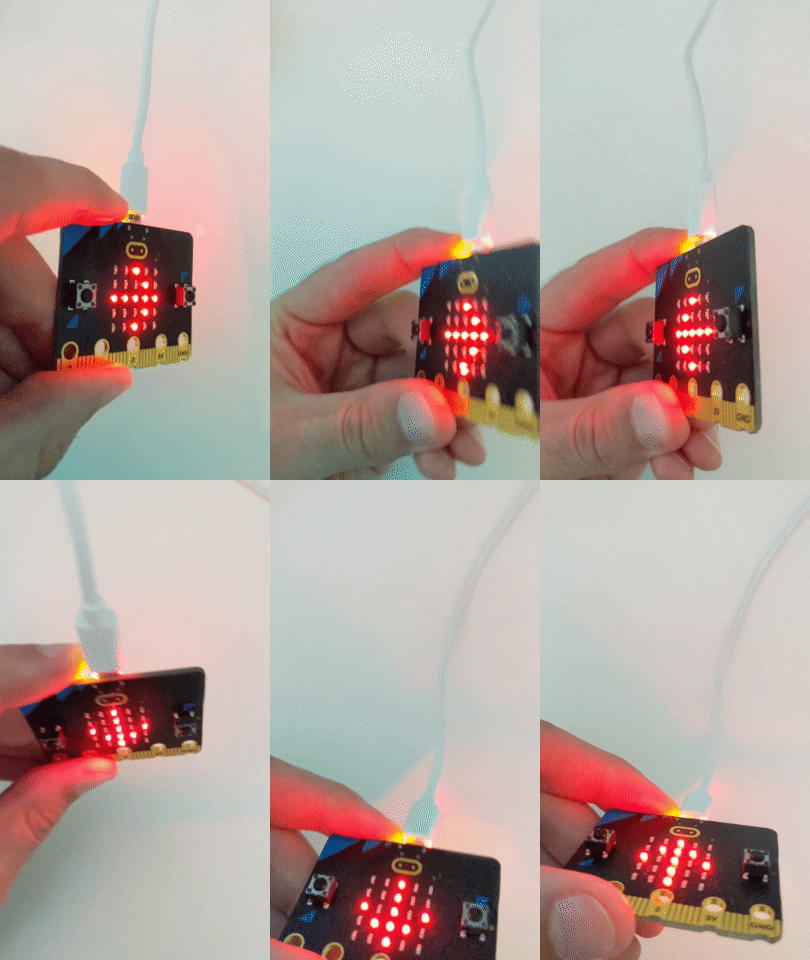
We also need to be able to stop the car so we need to program a gesture to send a 'stop' message as well.
Add the following code.
input.onGesture(Gesture.ScreenUp, function () {
    radio.sendString("stop")
    basic.showIcon(IconNames.No)
})
This lesson is copyright of . Unauthorised use, copying or distribution is not allowed.
