1 - Introduction
Let's try make some flags using our LED strip. The easiest flags to make will be bicolor (2 colour) flags or tricolor (3 color) flags but we can get creative and make other ones as well.
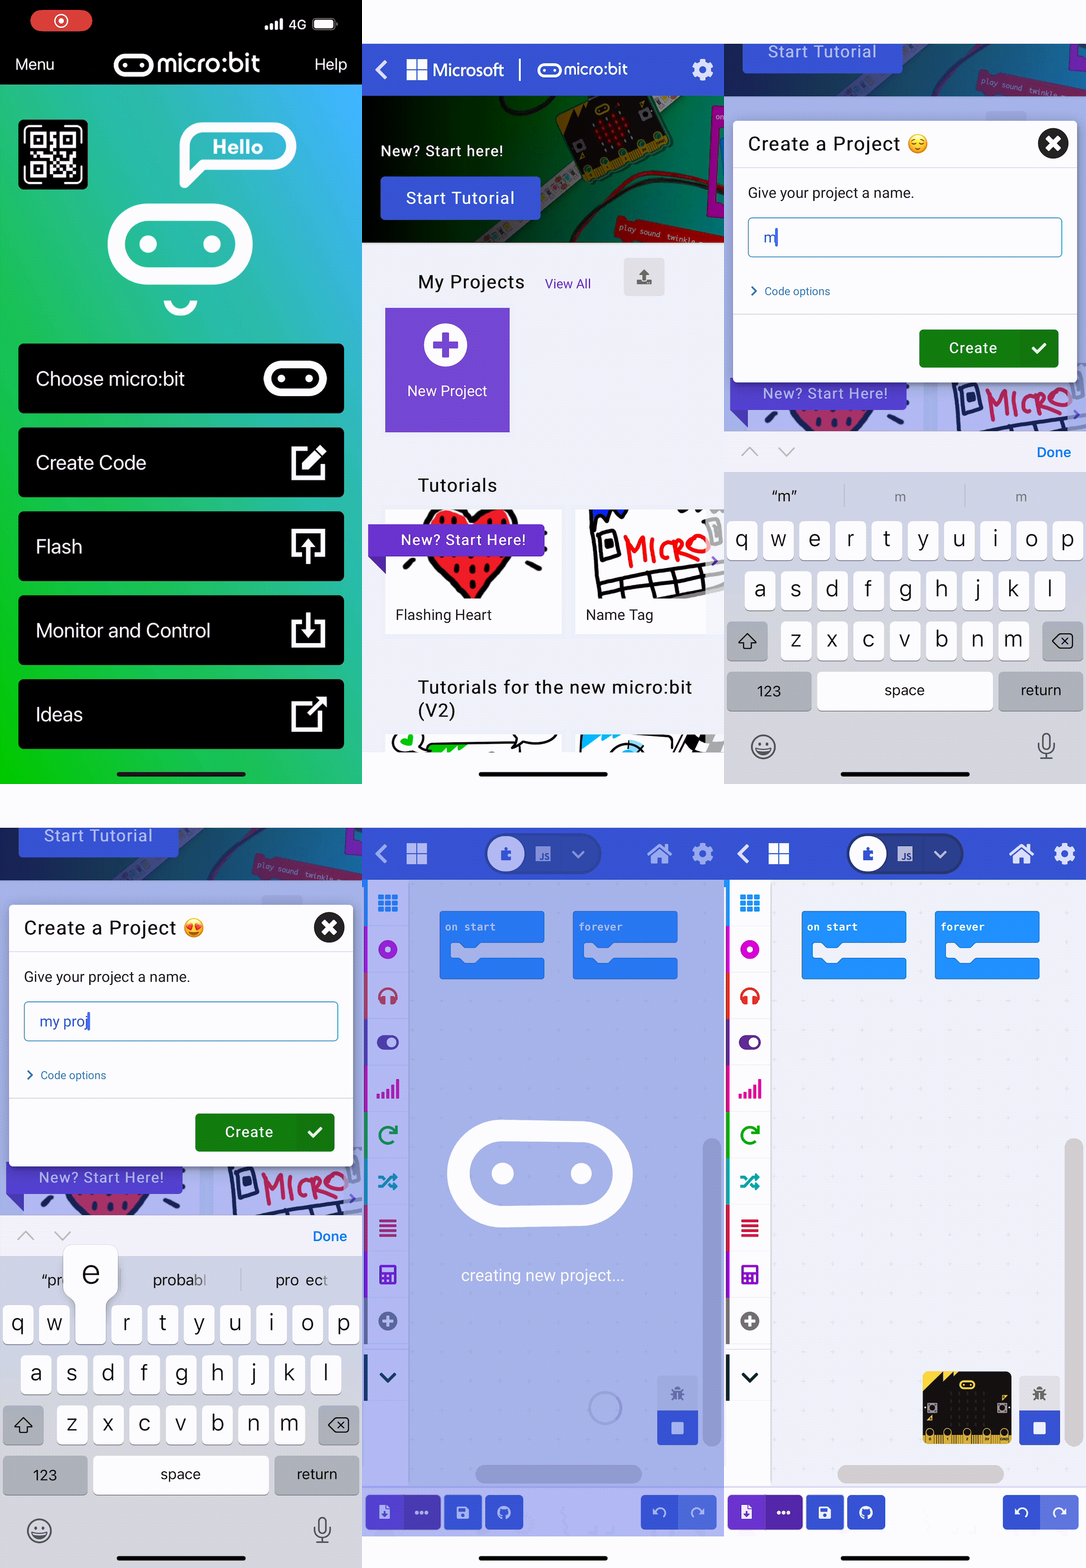
2 - Create a new Microbit project
To get started create a new Microbit project.
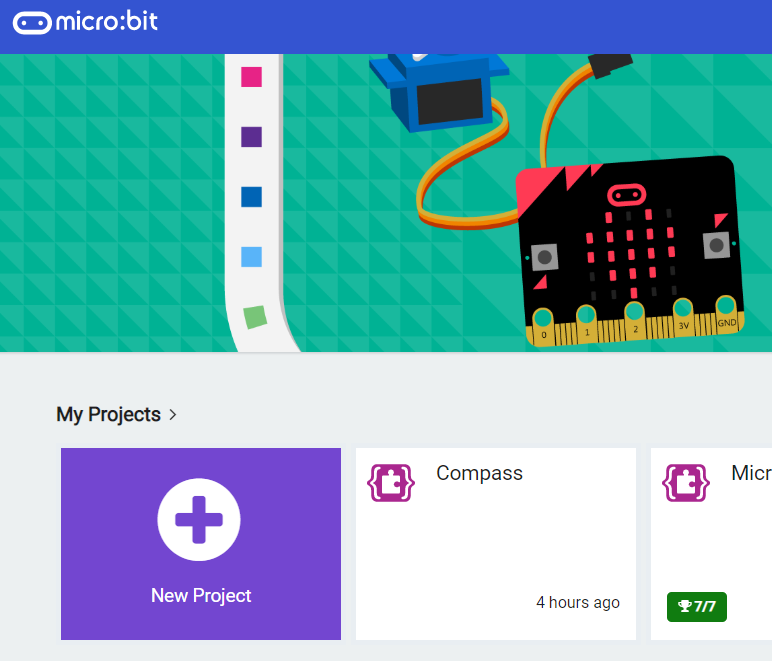
Go to the Makecode.com Microbit website using the link below and click on the 'New Project' button underneath the 'My Projects' heading.
https://makecode.microbit.org/
Install the micro:bit app on your iPad or tablet.
Open the app, tap 'Create code' and then create a new project.

3 - Add the neopixel extension
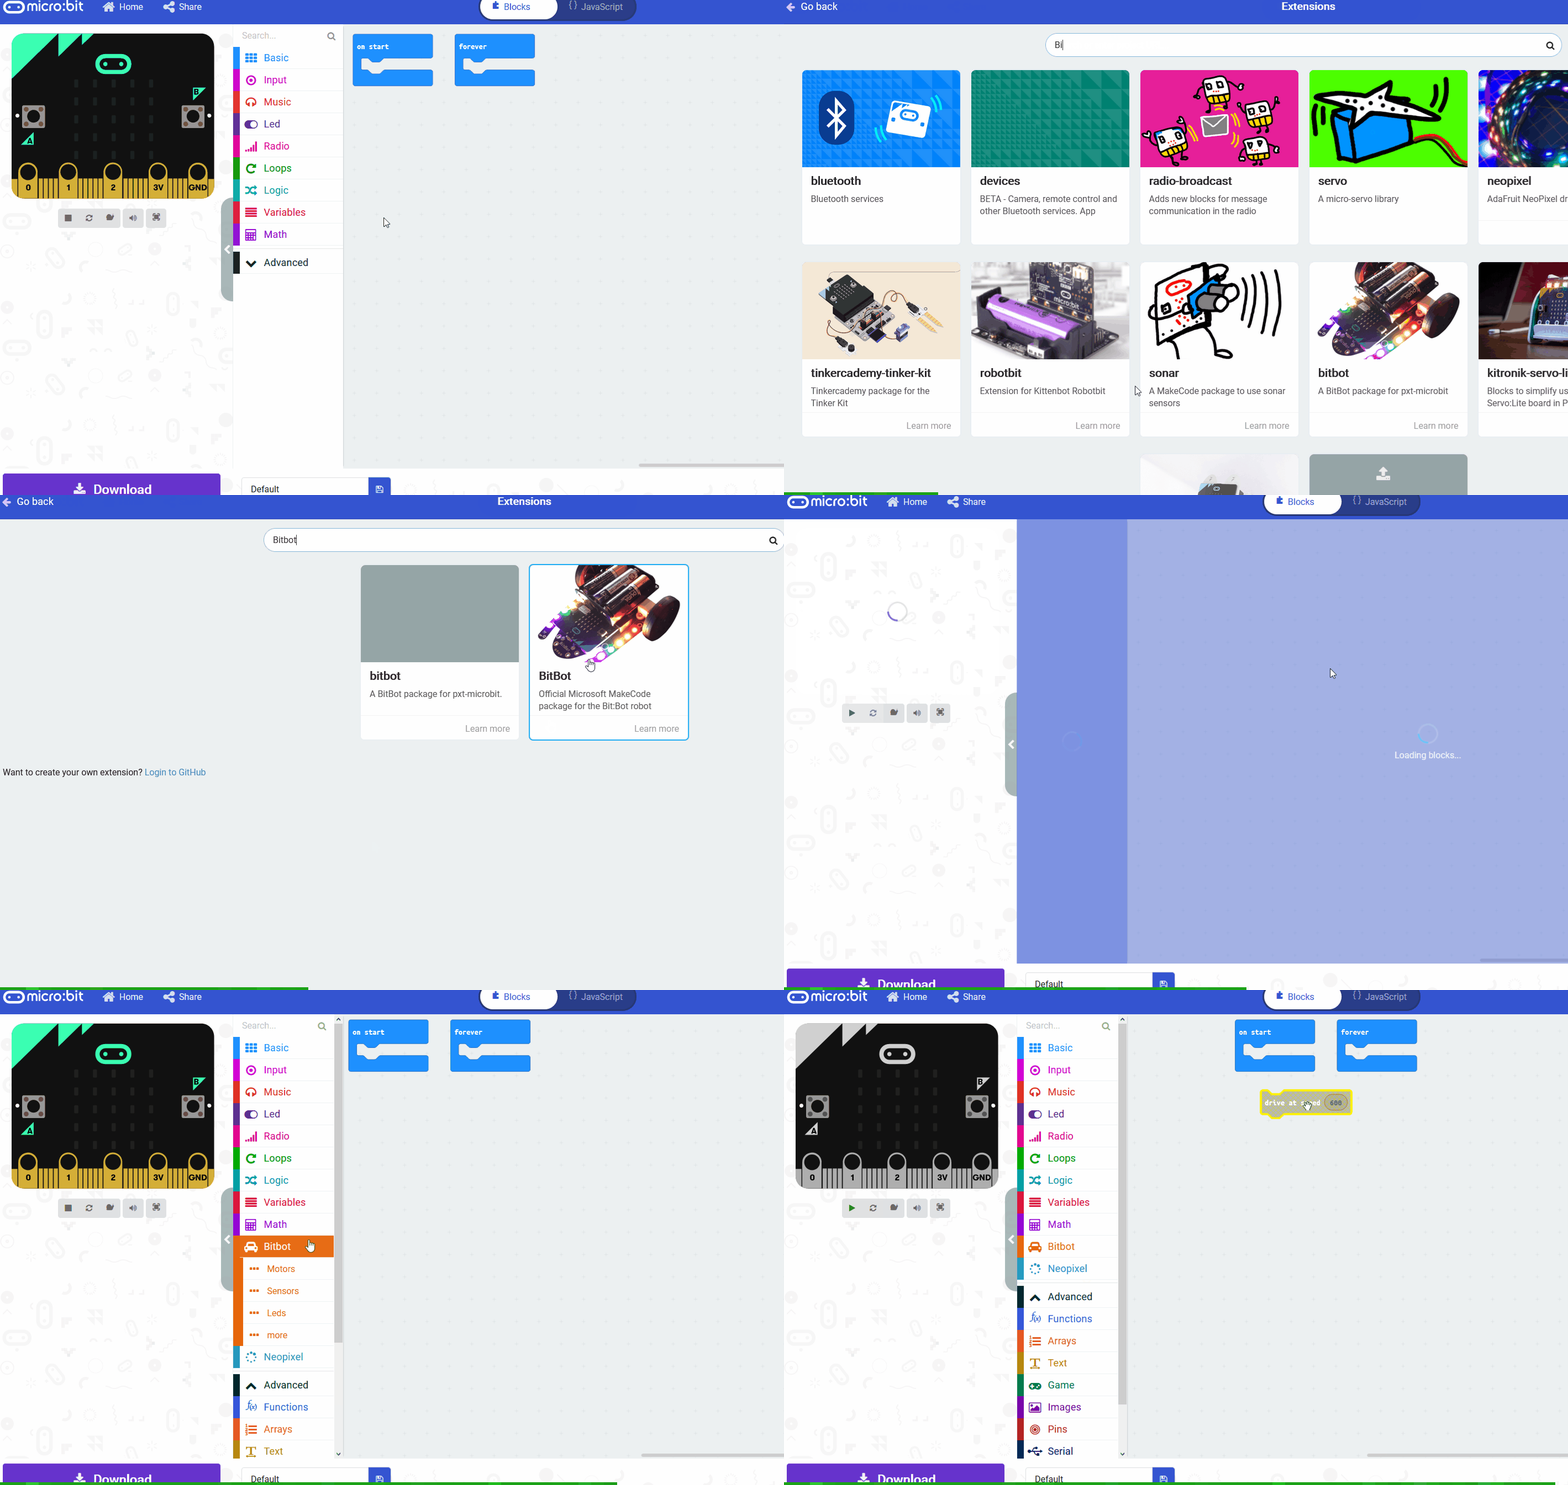
To access the blocks we need to program the LED strip, you need to add the neopixel extension to your project.
To add an extension follow these steps:
- Click on 'Advanced' in the toolbox
- Click 'Extensions'
- Type the name of the extension in the search box
- Click on the extension in the search results
- The extension and all it's blocks will be added to your toolbox

4 - Setup the LED Strip
To be able to interact and program the LED strip we will need a variable that stores the strip.
Add the following code to your project. We set the value to be 30 as there are 30 LEDs on the strip.
5 - Make a bicolor flag
To make a bicolor flag, we will create 2 ranges of LEDs on the strip and light them up the separate colours of the flag. In this example we're going to make the flag of Malta which is white and red.
Create 2 ranges:
- range1 - from 0 with 15 leds
- range2 - from 15 with 15 leds
And then light up range1 white and range2 red.
Download the code to your microbit and attached the LED strip using the crocodile clips. It should light up as the flag of Malta.


This lesson is copyright of . Unauthorised use, copying or distribution is not allowed.

