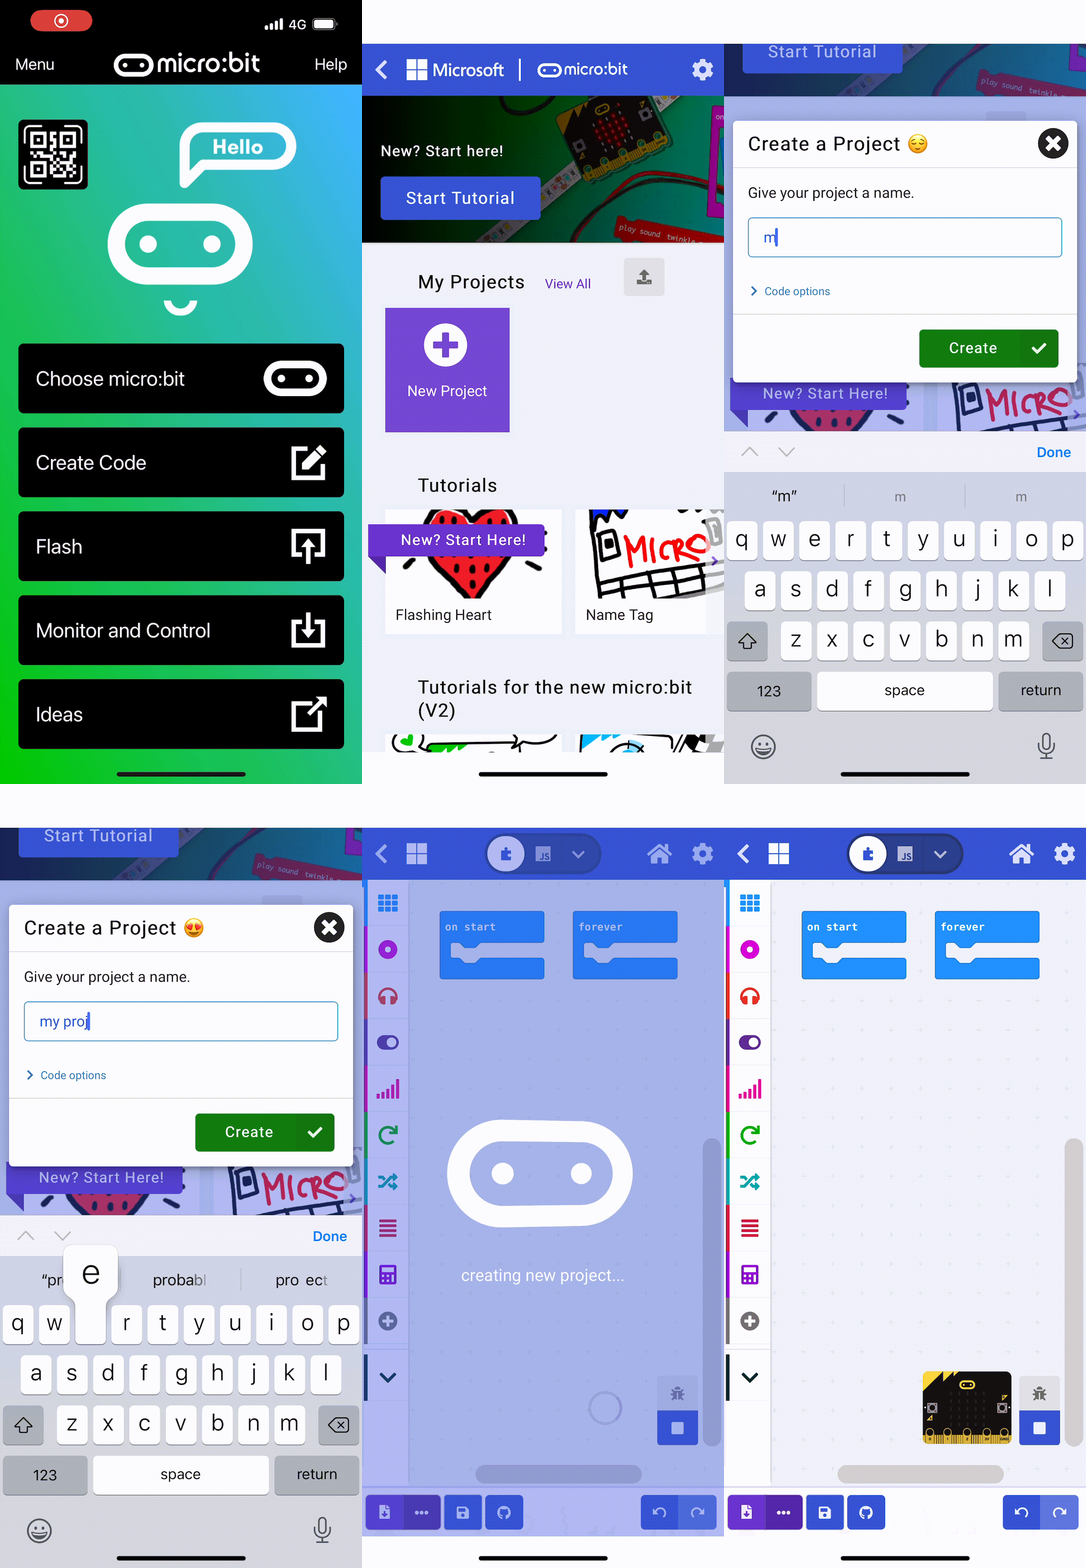
To get started create a new Microbit project.
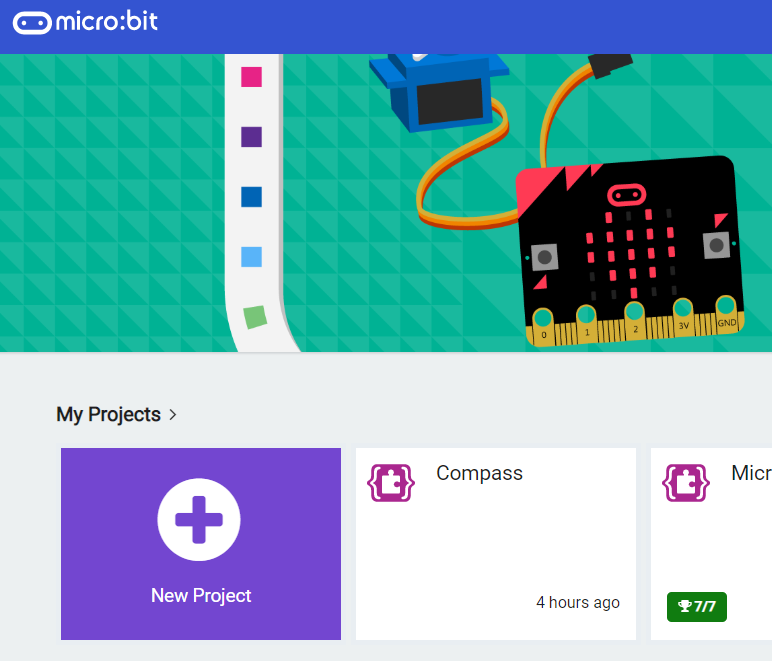
Go to the Makecode.com Microbit website using the link below and click on the 'New Project' button underneath the 'My Projects' heading.
https://makecode.microbit.org/
Install the micro:bit app on your iPad or tablet.
Open the app, tap 'Create code' and then create a new project.

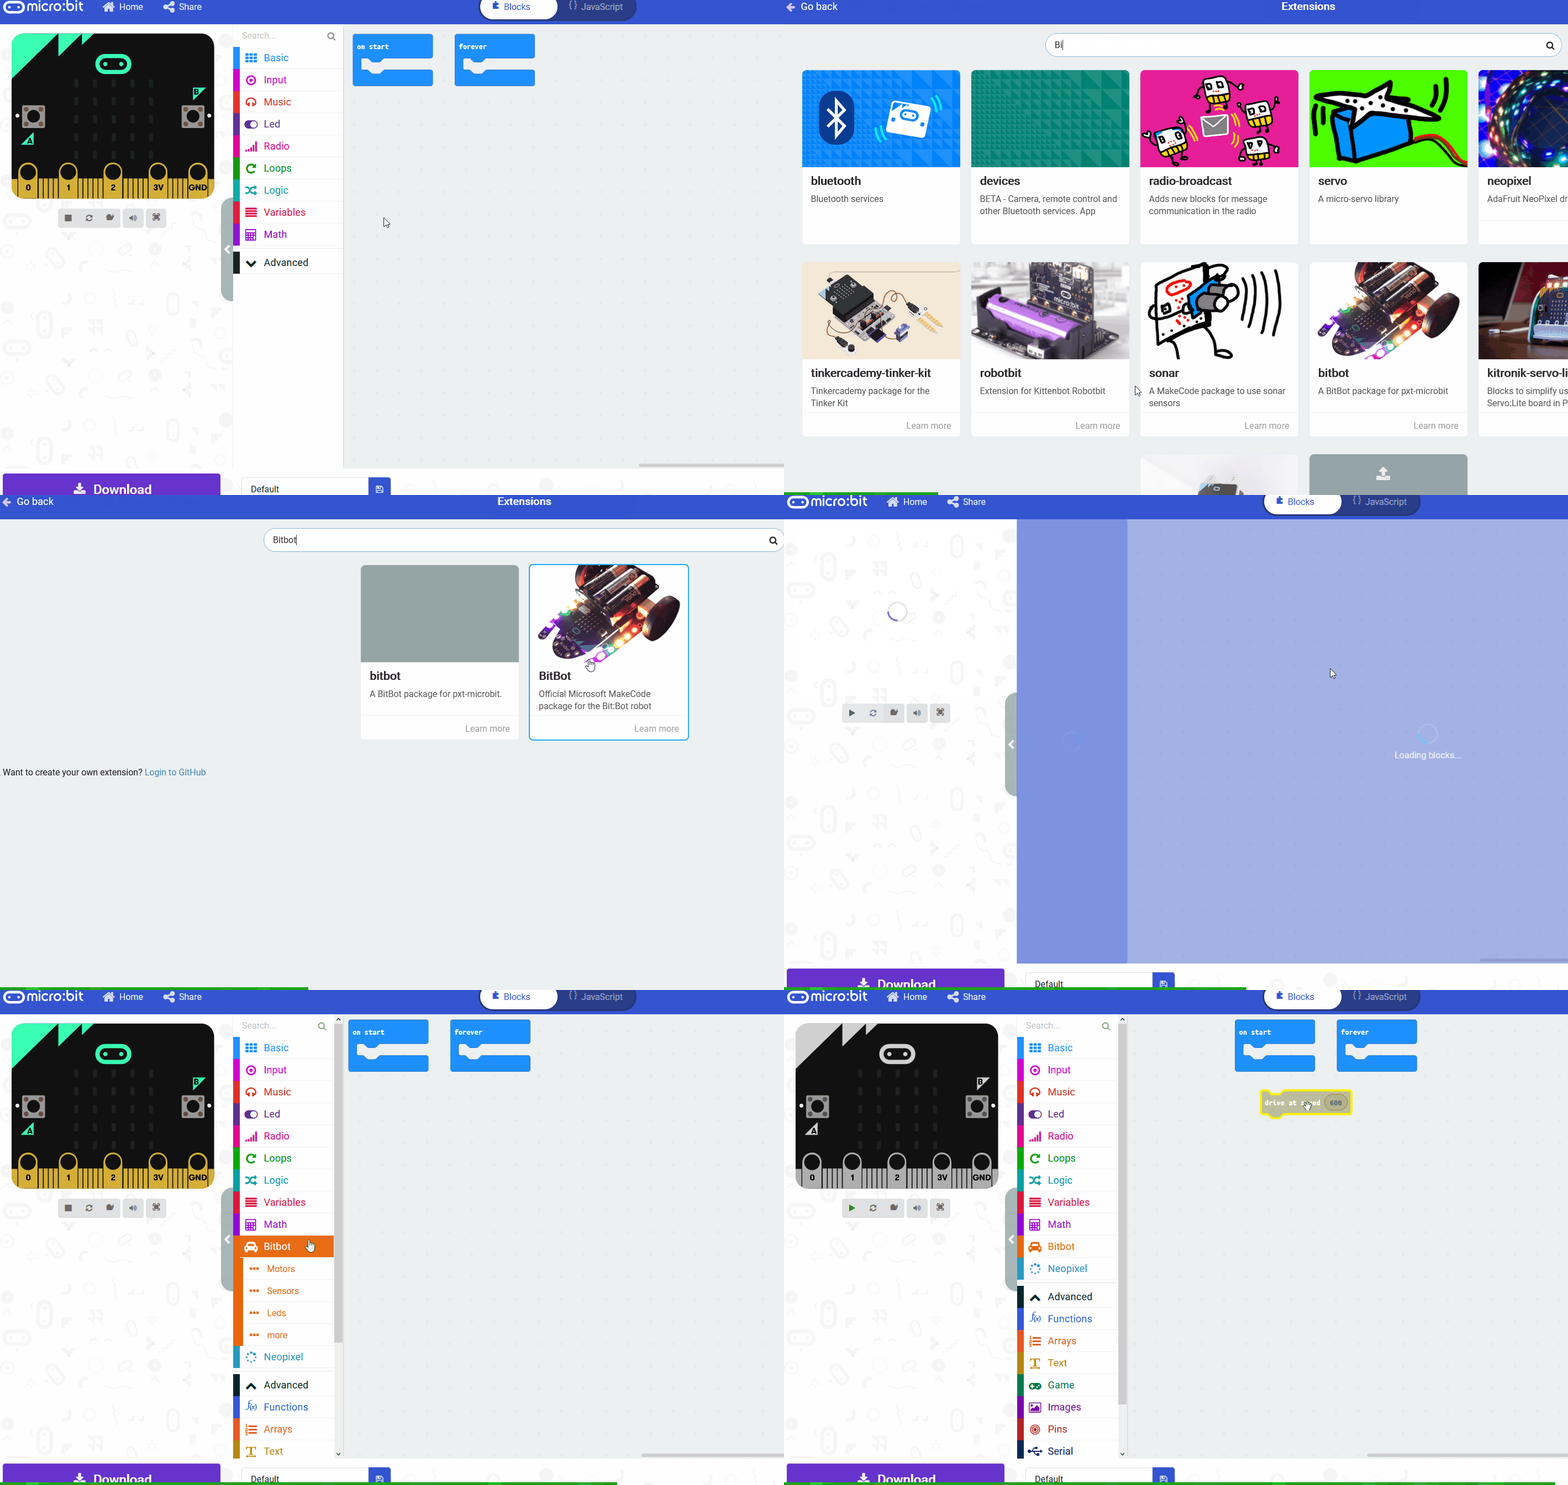
To access the blocks we need to program the LED strip, you need to add the neopixel extension to your project.
To add an extension follow these steps:
- Click on 'Advanced' in the toolbox
- Click 'Extensions'
- Type the name of the extension in the search box
- Click on the extension in the search results
- The extension and all it's blocks will be added to your toolbox

To be able to interact and program the LED strip we will need a variable that stores the strip.
Add the following code to your project. We set the value to be 30 as there are 30 LEDs on the strip.
We will need a variable called 'on' to store whether the lights should be in the on state (on = true) or the off state (on = false).
Create a variable called on and set it to be false at the start.
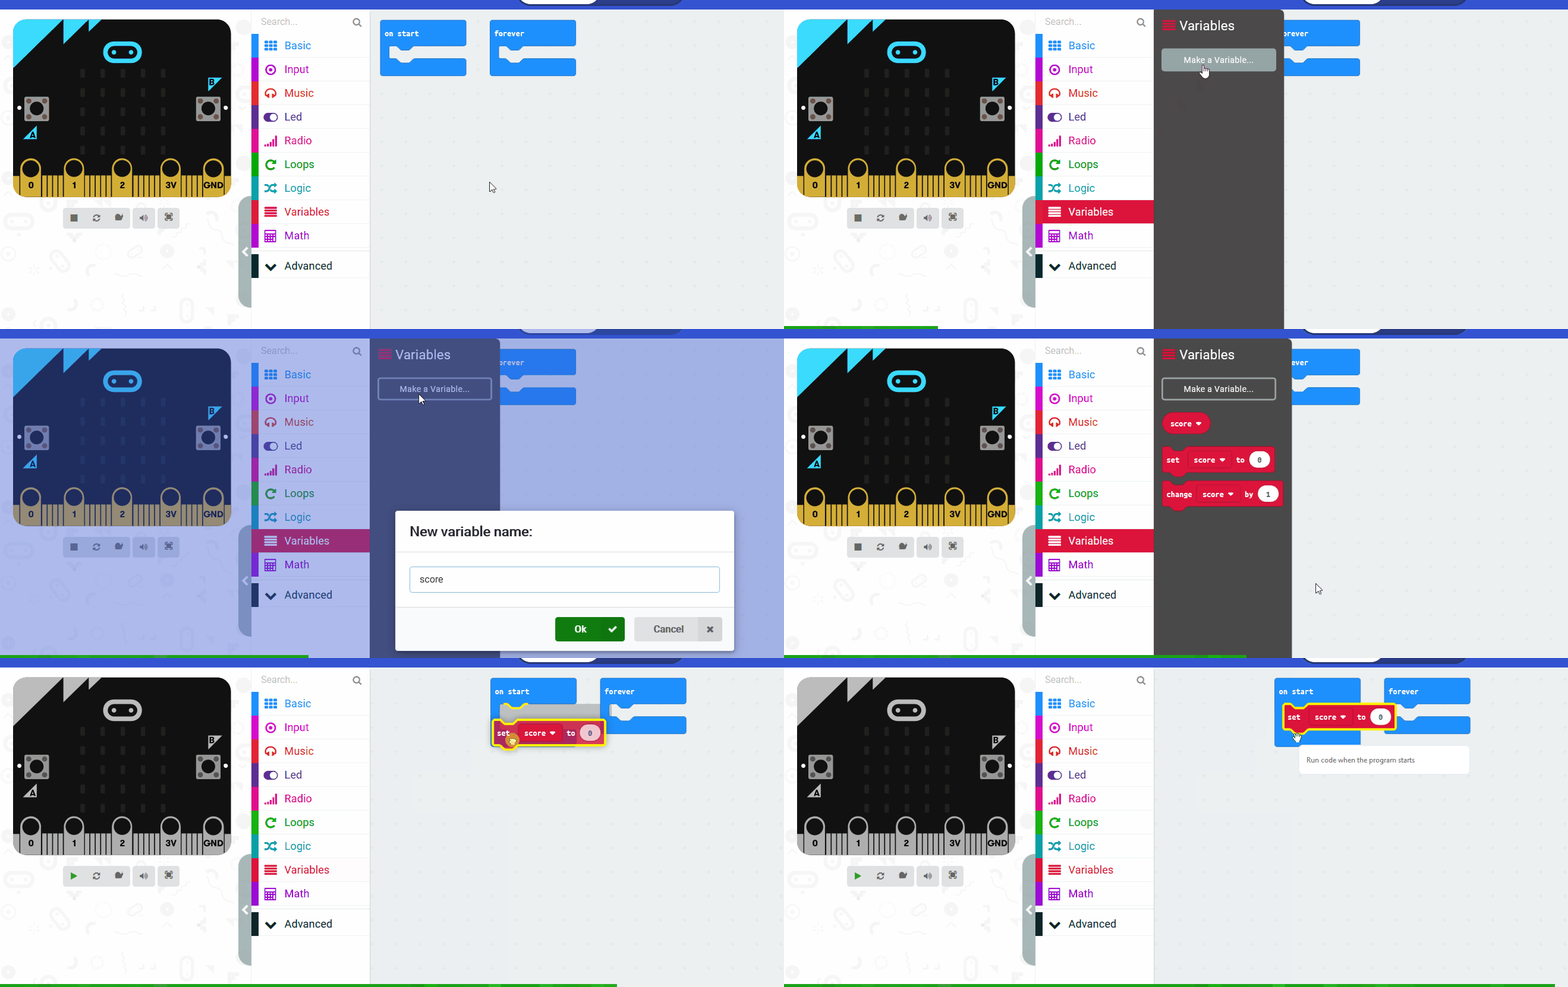
In the Variables toolbox, create a new variable by clicking the 'Make a Variable' button.
Once you click this button a box will appear asking what you want to call your variable. Give it a name that reminds you what you will be using it for. For example, if you wanted to keep track of your score in a game, you would create a variable called 'score'.

We will use the on [loud] sound block to detect when you clap.
When a clap is detected:
- If on equals false, then we will turn on the light
- Else on must equal true so we will turn off the light
Add the following code to set the on variable to be true and light up the LED strip a colour.

This lesson is copyright of . Unauthorised use, copying or distribution is not allowed.

